


Alright, let's get your Shopify store off the ground. The first few steps are all about laying a solid foundation. It's not the glamorous part, but getting these basics right from the start saves a ton of headaches down the road. We're talking about signing up, picking a name, and choosing the right plan for your new venture.
This initial phase is surprisingly straightforward and sets you up for the fun stuff like adding products and making your first sale.
Your Foundation for a Successful Online Store
Building an online store can feel overwhelming, but the secret is to start strong. Think of it like building a house; you need a solid foundation before you can even think about what colour to paint the walls. It all starts with Shopify's free trial, which is the perfect sandbox to play in without any financial commitment.
From there, you'll make some key decisions that shape your business's identity and how it operates. These aren't just administrative tasks; they're the first real building blocks of your brand.
Key Initial Decisions
Before you get lost in themes and product photos, let's lock in these core details.
Choose a Memorable Store Name: This is your brand's first handshake. It needs to be catchy, easy to remember, and hint at what you sell. Most importantly, check if the domain name is available.
Select the Right Shopify Plan: Shopify has a few different tiers. Don't overthink it at the beginning. Most new businesses do just fine on the Basic plan and simply upgrade as they grow.
Configure Core Business Details: This is the nitty-gritty: your business address, store currency (set it to CAD if you're a Canadian business), and time zone. Nail these now for accurate reporting and taxes later.
This handy visual breaks down the journey from sign-up to launch.
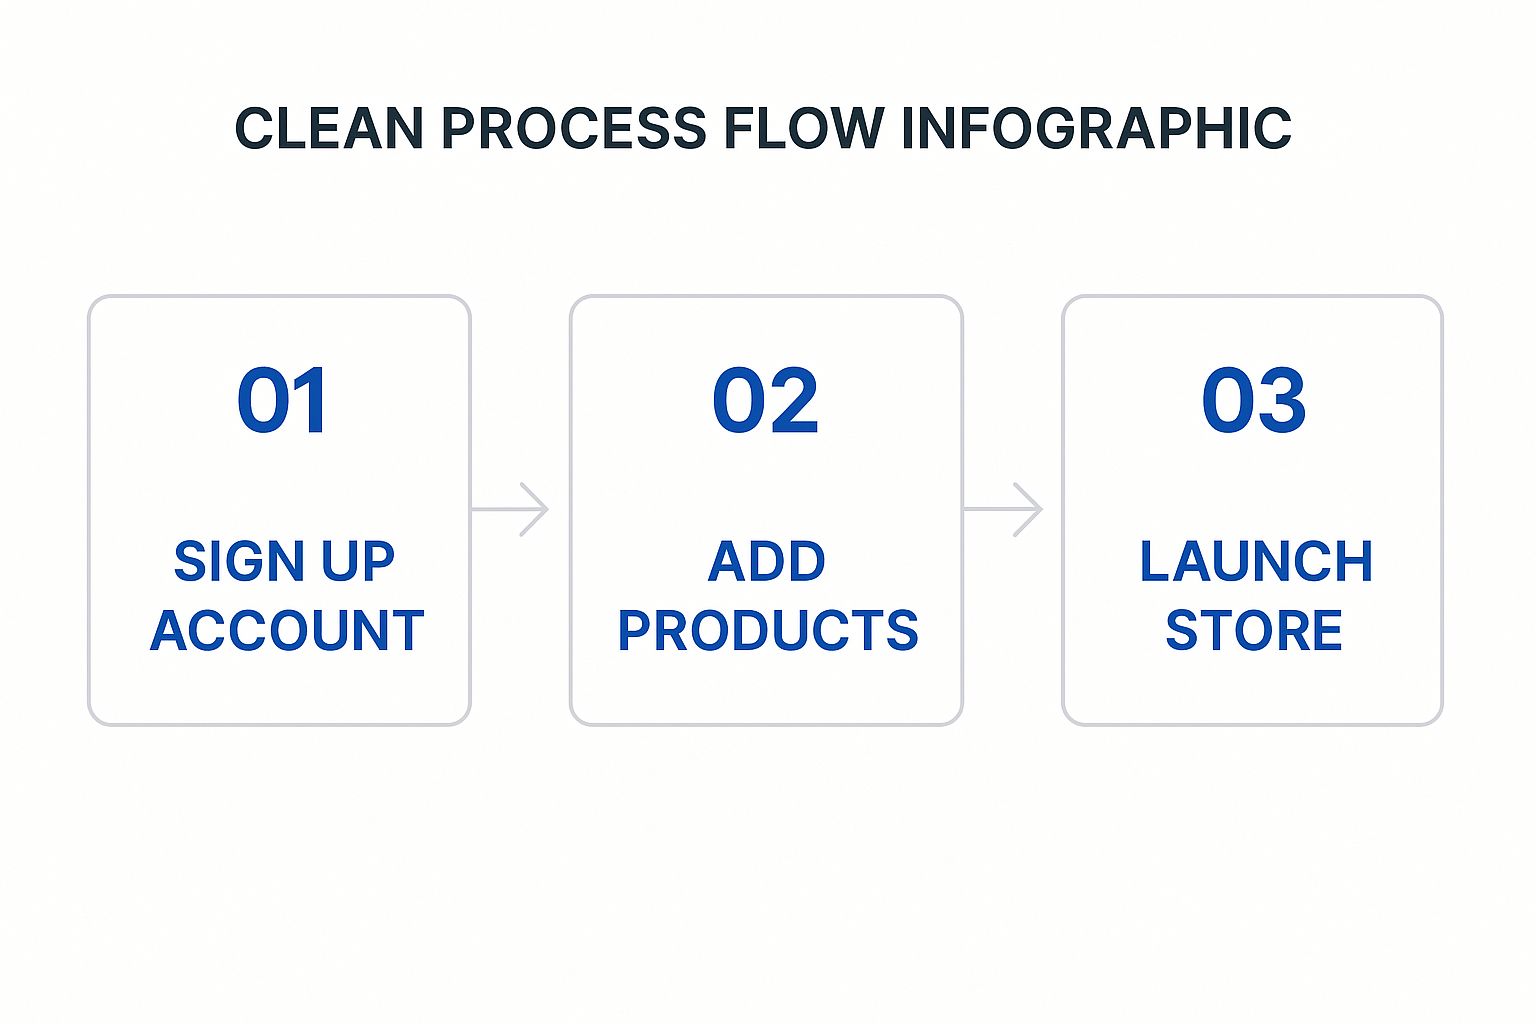
As you can see, the technical setup is just the beginning. The real work comes when you start adding products and marketing your store.
A strong start isn’t about perfection; it’s about making informed decisions. Taking the time to select the right name, plan, and settings will save you countless hours of backtracking later.
Choosing Your Shopify Plan
Picking the right plan can feel like a big decision, but it's really about matching features to your current needs. You can always upgrade later as your business scales. Here’s a quick breakdown to help you decide.
Plan | Best For | Key Features | Transaction Fees (using Shopify Payments) |
|---|---|---|---|
Basic | New businesses and startups are launching their first online store. | 2 staff accounts, basic reports, unlimited products, up to 1,000 inventory locations. | 2.9% + 30¢ CAD online |
Shopify | Growing businesses with rising sales and a need for better reporting. | 5 staff accounts, professional reports, and lower transaction fees. | 2.6% + 30¢ CAD online |
Advanced | Scaling businesses that require advanced features and the lowest fees. | 15 staff accounts, advanced report builder, and third-party calculated shipping rates. | 2.4% + 30¢ CAD online |
For most people just starting, the Basic plan is more than enough to get going. You get all the essential features you need to launch and start selling.
The growth in eCommerce is hard to ignore. As of early 2025, there are over 2.6 million live stores on Shopify worldwide. What’s really interesting for us is that about 5.1% of those stores are right here in Canada, with that number growing by 9% year-over-year. It's a great time to be launching an online store in Canada.
If you find yourself needing a hand with the technical side of things, it might be worth exploring professional Shopify development services. And as you lay this groundwork, don't forget about getting found. Learning from Shopify SEO experts early on will help ensure customers can find you from the moment you launch.
Designing a Storefront That Actually Converts
Your storefront is your digital handshake. It’s the very first impression a customer gets of your brand, and it has a split second to build trust and guide them toward making a purchase. A great design is so much more than pretty colours; it’s about crafting a user experience that makes shopping feel completely natural and effortless.
This whole process kicks off in the Shopify Theme Store. You’ll find a massive selection of both free and paid themes, each one offering a unique starting point for your store's look and feel.
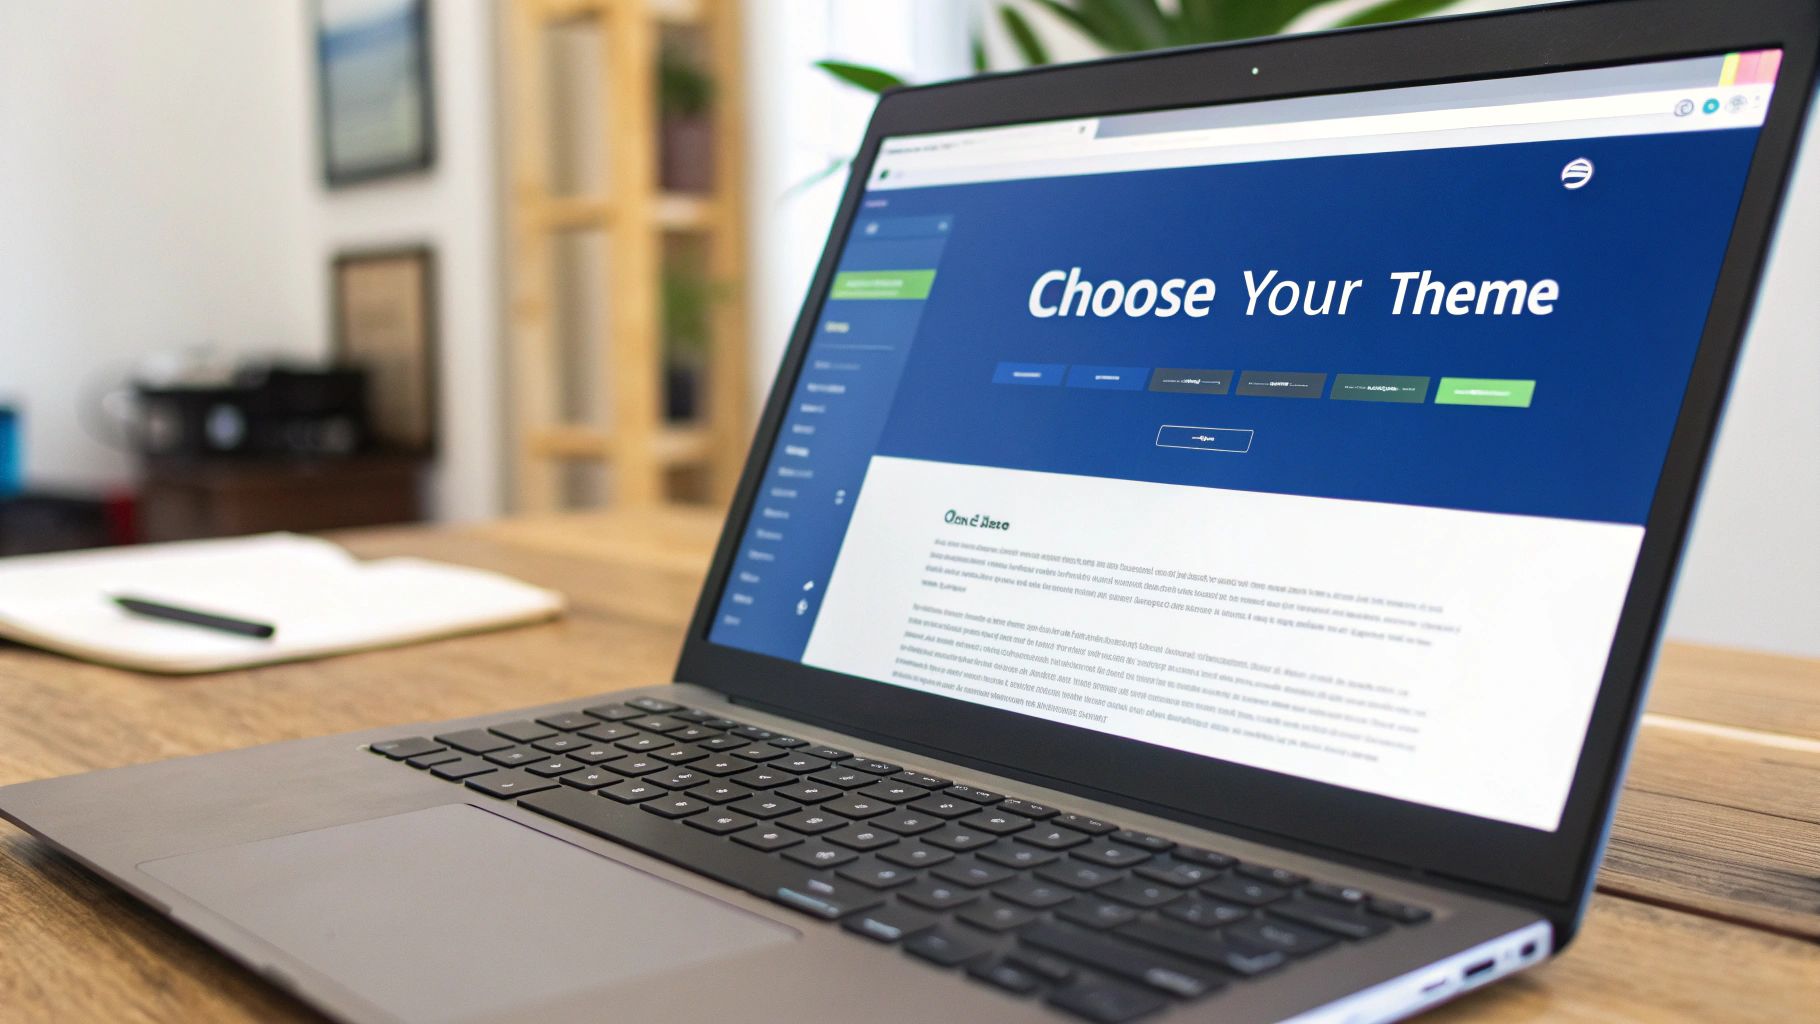
Choosing the Right Theme
When you're first getting your feet wet, a free theme is an excellent choice. They’re fully supported by Shopify, so you know they’re reliable. Plus, they look professional and come packed with all the essential features you need to get your store off the ground without spending a dime.
Paid themes, on the other hand, often kick things up a notch. They typically come with more advanced features, deeper customization options, and unique design styles that can really help your store stand out from the crowd. The trick is to look for a theme that has features aligning with your specific business goals, like advanced filtering if you have a huge inventory, or specialized layouts if you’re a very visual brand.
No matter which path you choose, make sure the theme is mobile-responsive. This isn't just a suggestion; it's critical. A staggering 79% of traffic to Shopify stores comes from mobile devices, a trend that’s just as powerful here in Canada. If your site doesn't look and work perfectly on a phone, you're leaving money on the table.
Customizing Your Theme for Conversions
Once you've landed on a theme, it's time to mould it into something that’s uniquely yours. The objective here is to create a brand experience that feels cohesive and trustworthy from the moment someone lands on your site.
Here’s what you should tackle first to get the biggest impact:
Upload a Professional Logo: Your logo is your brand's calling card. Get it uploaded and placed prominently in your site's header right away.
Set Your Brand Colours: Jump into the theme editor and align the colour scheme with your brand’s palette. Consistency is key for building recognition.
Organise Your Homepage: This is your most valuable real estate. Use high-quality banners to shout about current promotions and set up featured product collections to steer visitors directly to your bestsellers.
Think of your homepage like the front window and entrance of a physical shop. You want to immediately show people what’s important and where they should go next. To see how these principles come together in a real-world store, this Shopify web design case study offers some great insights.
A great design isn't just about looking good; it's about being functional. Every single element on your page, from the navigation menu to the 'Add to Cart' button, needs to be clear, intuitive, and designed to make shopping as frictionless as possible. Your setup should help, not hinder, a sale.
Adding and Organizing Products Like a Pro
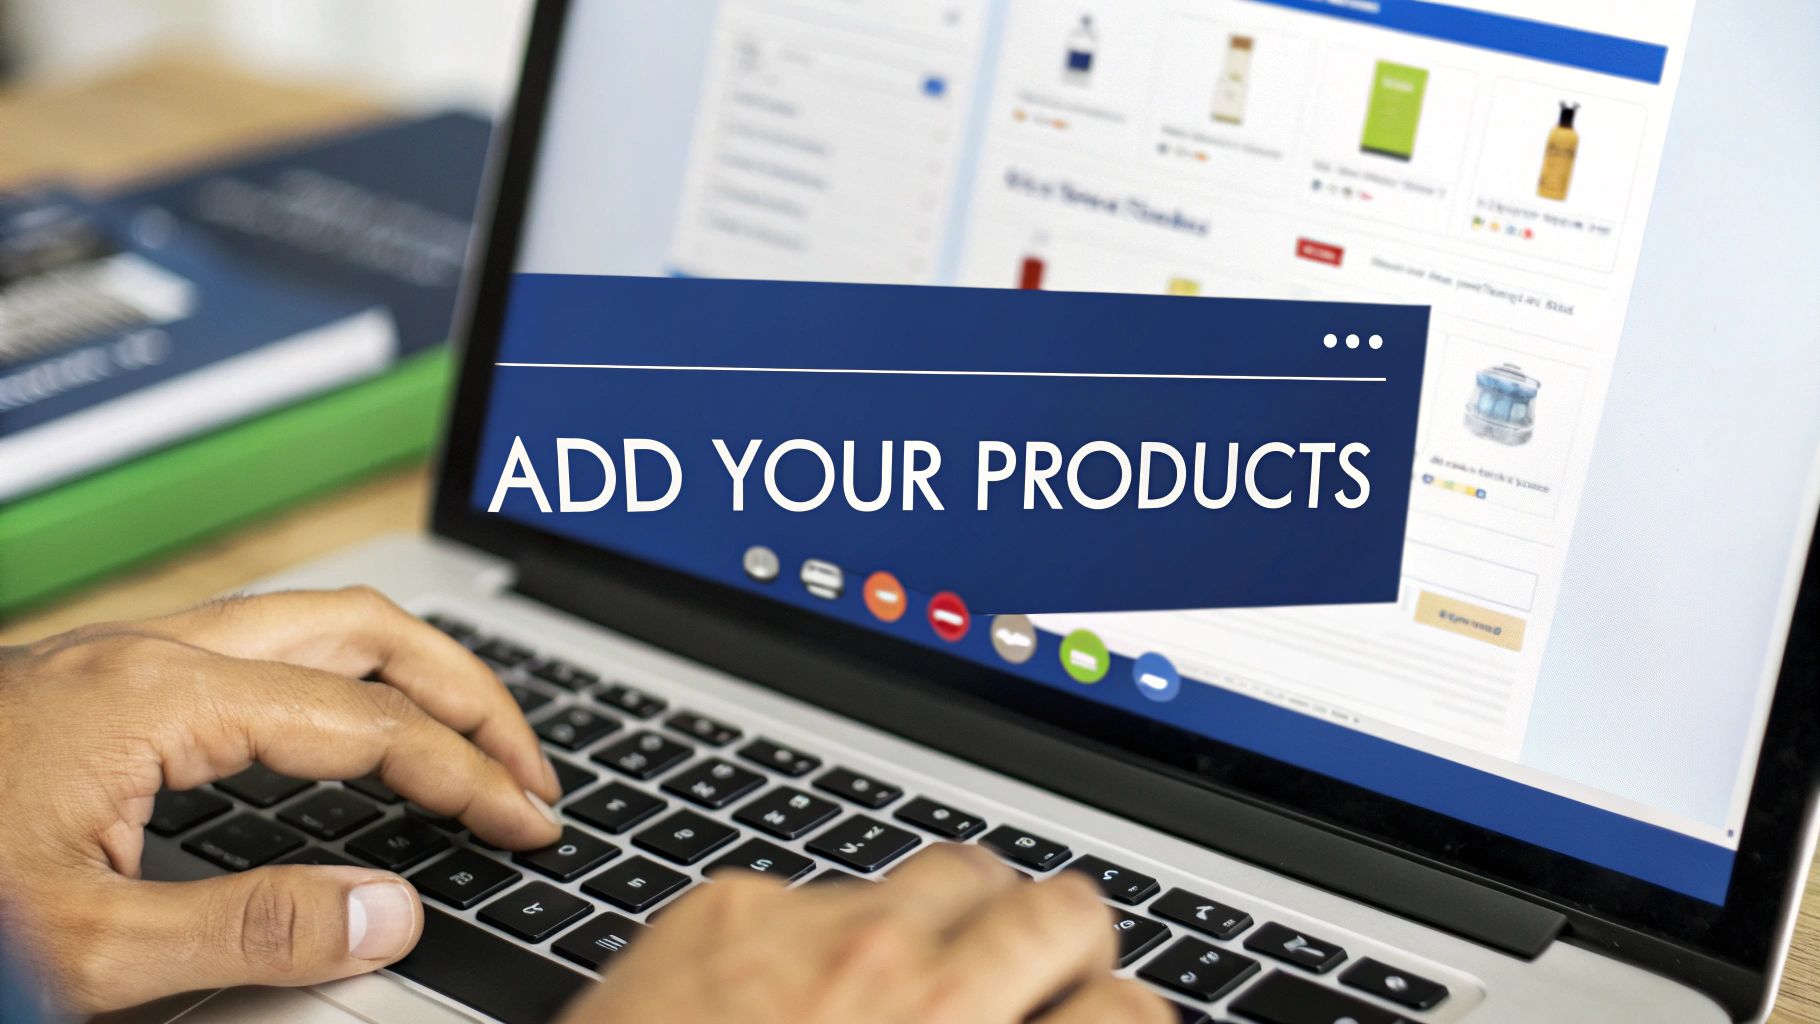
With your storefront's personality dialled in, it's time to stock the virtual shelves. Your products are the heart and soul of your business, and how you present them can genuinely make or break a sale. This is the moment you transition from building a website to creating a real, shoppable store.
It all kicks off with the "Add product" button in your Shopify dashboard. Think of this as your command centre for creating product pages that sell themselves.
Crafting Product Pages That Sell
A product page is so much more than a name and a price tag; it's your #1 sales pitch. Your job is to get inside your customer's head, anticipate their questions, and answer them with compelling copy and eye-catching visuals.
First up, nail the product title. Instead of a generic "T-Shirt," be specific and descriptive: "Organic Cotton Crewneck T-Shirt – Forest Green." This simple change is a huge win for both customer clarity and your search engine ranking.
Next, use the product description to tell a story. Don't just list specs; sell the experience. For instance, instead of just saying, "Made with 100% merino wool," try something like, "Stay warm without the weight. Our ultra-soft 100% merino wool is naturally breathable and incredibly cozy, making it your go-to layer for any adventure."
High-quality photos are absolutely non-negotiable. Since shoppers can't touch or try on your products, your images need to do all the heavy lifting.
Cover All Angles: Show the front, back, and sides. No one wants surprises.
Zoom In: Get close-up shots of unique textures, special features, or detailed craftsmanship.
Show, Don't Just Tell: Use lifestyle photos to show your product in action. Selling a backpack? Feature a photo of someone hiking with it. This helps customers imagine it in their own lives.
Pricing can feel like a tightrope walk. You've got to cover your costs and be competitive, but you also need to communicate your product's value. A good starting point is to see what similar products are selling for, but never be afraid to price higher if you offer superior quality or one-of-a-kind features.
Creating Smart Product Collections
Throwing all your products onto one page just won't cut it. To avoid frustrating your visitors, you need to group items into logical collections, Shopify’s term for categories. A messy store is a surefire way to send potential customers running.
Put yourself in your customer's shoes. How would they search for your products?
You can build collections around all sorts of criteria:
Product Type: T-Shirts, Mugs, Skincare
Target Audience: For Men, For Kids, Gifts for Dad
Promotions: New Arrivals, Bestsellers, On Sale
Shopify gives you the choice between manual and automated collections. Manual collections are perfect for highly curated groups, like a seasonal "Staff Picks" feature.
Pro Tip: Use automated collections to save a ton of time. You can set up rules that automatically pull products into a collection based on tags, price, or even words in the title. For example, any product you tag with "summer" can instantly be added to your "Summer Collection" without you lifting a finger.
Getting this level of organization right is a critical part of learning how to set up a Shopify store properly. It has a direct impact on the customer experience, making it effortless for shoppers to find what they came for and discover new things they’ll love along the way. This one step can transform a simple product list into a polished, professional online boutique.
Getting Payments, Shipping, and Taxes Dialed In
With your products looking great, it's time to roll up our sleeves and work on the nuts and bolts of your store. This is where we sort out how you get paid, how your products get to your customers, and how you handle taxes. Getting these three things right from the start is non-negotiable. Think of them as the engine room of your ecommerce business. They're what turns a pretty online catalogue into a real, functioning operation.
Let's break down these backend settings so you can launch knowing everything is running smoothly.
Setting Up Your Payment Gateways
First things first: let's make it easy for people to give you their money. For most businesses here in Canada, the simplest and often best choice is Shopify Payments. It’s already built into the platform, which means you don't have to fuss with a third-party provider, and the rates are usually quite competitive.
Getting it activated is a breeze. Head over to the 'Payments' section in your Shopify admin, and it’ll walk you through entering your business and banking details. Once that's done, you can start accepting all major credit cards right away.
Here’s what the main payment setup screen looks like: it's your command centre for all things money-related.
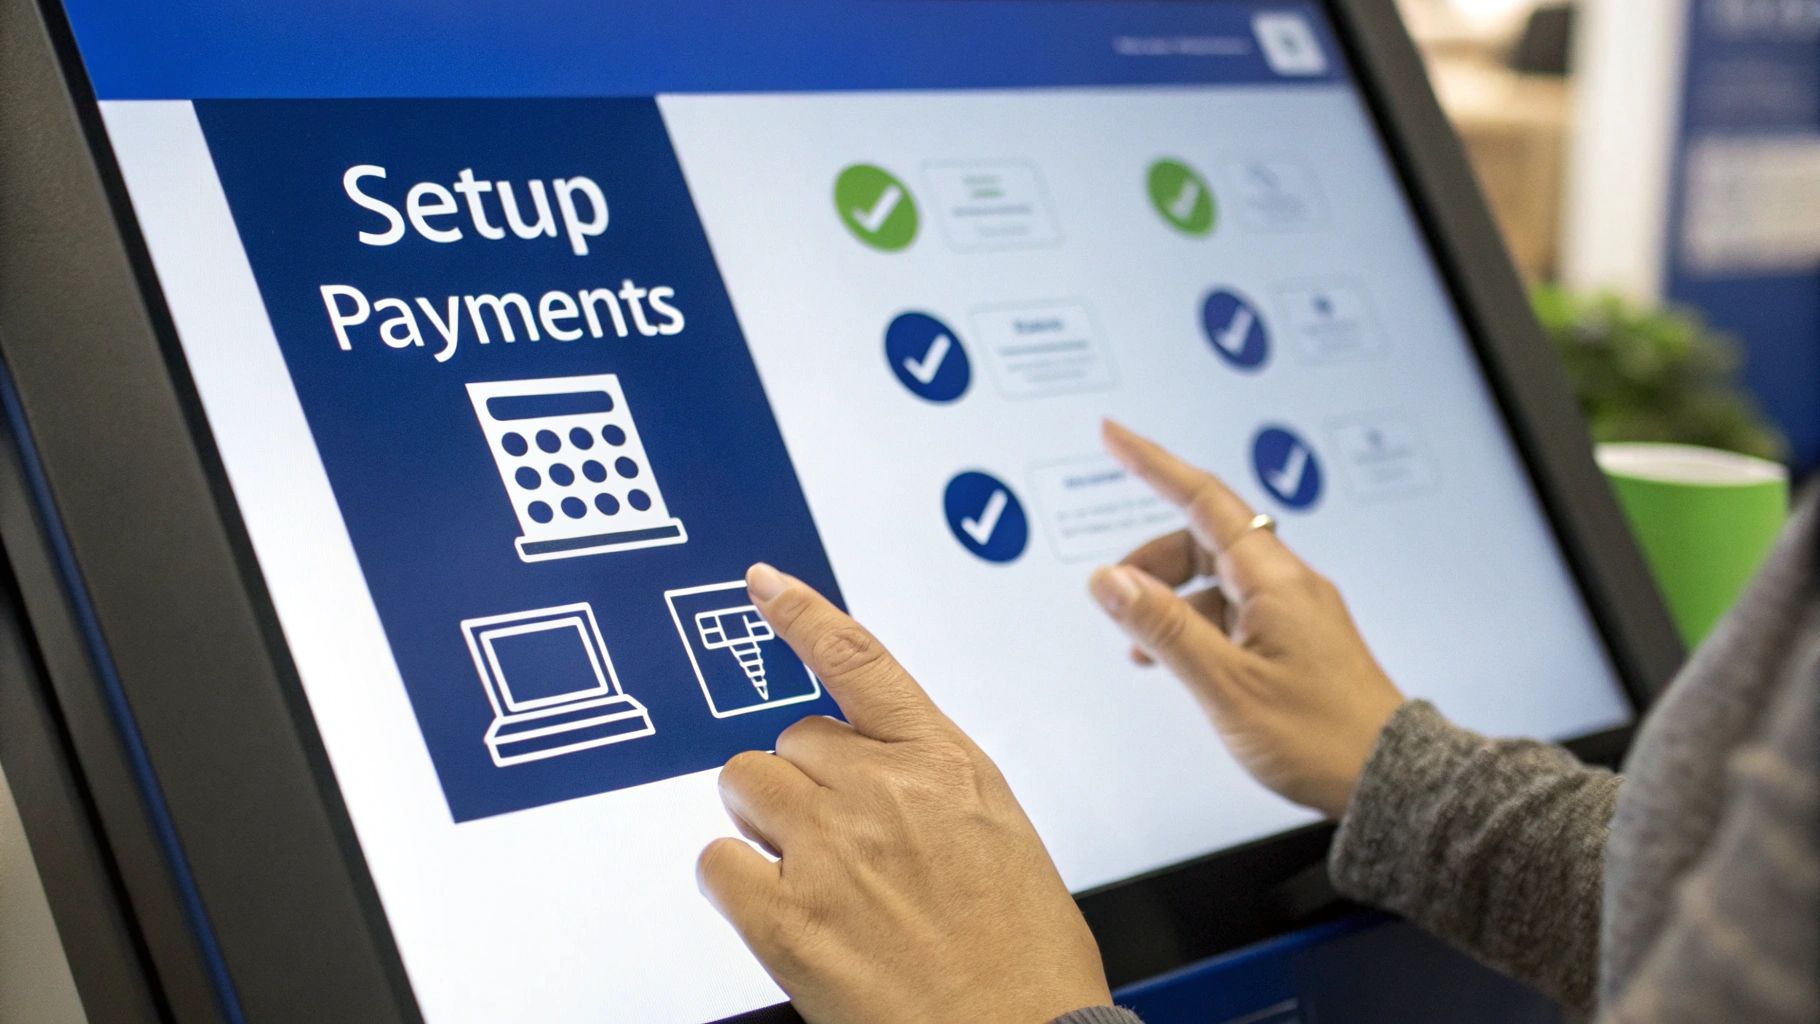
From this dashboard, you can enable Shopify Payments and also add other popular options like PayPal or Amazon Pay to give your customers more choice.
Speaking of choice, it's a good idea to offer a few different ways to pay. Some customers live and die by PayPal, while others are exploring newer options. If you're curious about tapping into the crypto market, this guide on Shopify and cryptocurrency integration is a great resource.
A slick checkout process is absolutely crucial. Studies have shown that 18% of shoppers will ditch their cart if the checkout is too long or confusing. By offering trusted, simple options like Shopify Payments, you're knocking down one of the biggest barriers to a sale.
Mastering Your Shipping Logistics
Shipping can feel like a huge, complicated puzzle, but Shopify does a fantastic job of simplifying it. The key concept to grasp is shipping zones. A shipping zone is just a group of places, like provinces, territories, or entire countries, to which you assign the same shipping rules.
For instance, you could set up one zone for your home province (say, Alberta), another for the rest of Canada, and a third zone for all your U.S. customers.
Inside each zone, you decide how to charge for shipping. You've got a few solid options:
Flat-Rate Shipping: The simplest of all. You charge one fixed price for any order going to that zone. A common example is "$15 flat rate for shipping anywhere in Ontario."
Weight-Based Rates: This gets a bit more precise. You set different prices based on how much the order weighs. For example, you might charge $10 for orders up to 1 kg and $18 for orders between 1.1 kg and 3 kg.
Real-Time Carrier Rates: For total accuracy, you can connect your own Canada Post (or other carrier) account. Shopify will then fetch the exact shipping cost from the carrier during checkout, based on the package's size, weight, and where it's headed.
My advice? Start simple. A flat rate or weight-based system is perfect when you're just getting started. You can always get fancier with carrier-calculated rates later on as your business grows.
Simplifying Canadian Sales Taxes
Taxes. Just the word can make new entrepreneurs a bit nervous. The good news is that Shopify is built to handle the heavy lifting for you, especially for Canadian sales. The platform can automatically calculate the right GST or HST based on your customer's province or territory.
To get this going, navigate to the 'Taxes and duties' section in your admin settings. You’ll just need to specify that you're collecting taxes in Canada and then plug in your GST/HST registration number.
Once that’s done, Shopify takes over. It automatically applies the correct provincial tax rate to every order at checkout. This is a massive time-saver and seriously cuts down on the risk of making costly mistakes.
Using Essential Apps to Enhance Your Store
Think of your brand-new Shopify store like a great car fresh off the lot. It runs beautifully and has everything you need to get started, but the real performance gains come from the right upgrades. The Shopify App Store is your custom shop, packed with tools that can seriously boost your marketing and make your day-to-day operations run a whole lot smoother.
It’s a massive marketplace. We're talking over 16,000 apps globally, and Canadian merchants are big fans, using them to dial in their stores for local customers. Unsurprisingly, the most popular apps in Canada often involve integrations with carriers like Canada Post or currency converters that seamlessly handle CAD. You can dive deeper into these trends and discover insights about Shopify's app ecosystem on chargeflow.io.
The sheer number of options can feel a bit overwhelming at first. My advice? Don't try to install everything at once. Instead, focus on a few key areas that solve the most immediate problems every new store owner faces.
Apps for Building Customer Trust
In ecommerce, trust is everything. Your customers can't touch or feel your products, so they're looking for other signals to feel confident about hitting that buy button. This is where social proof becomes your best friend, and thankfully, there are apps built specifically for this.
Product Review Apps: Honestly, these are non-negotiable from day one. They let real customers leave feedback, photos, and star ratings right on your product pages. Seeing that a handful of other people have already bought and loved an item is often the final push a hesitant shopper needs.
Customer Support and Live Chat Apps: Nothing says "we're a real, trustworthy business" like being available to help. A simple live chat widget on your site can defuse pre-purchase anxiety, answer quick questions, and stop potential customers from abandoning their carts.
Apps for Streamlining Your Operations
When you're just starting, you can handle most tasks manually. But as you grow, those little jobs start to pile up and steal time you should be spending on marketing and strategy. The right apps can put those repetitive tasks on autopilot.
A perfect example is an advanced shipping app. Shopify's built-in shipping is great, but a dedicated app can unlock features like printing packing slips in bulk, sending automated tracking updates, and even accessing better rates with major carriers. This saves you a ton of time and, just as importantly, creates a better experience for your customers after they've paid; a crucial factor in earning their repeat business.
The best apps aren't just flashy add-ons; they are strategic investments. They should either save you time, make you more money, or improve the customer experience. If an app doesn’t clearly do one of these three things, you probably don’t need it right now.
Choosing a platform with a strong app ecosystem from the start makes all of this possible. While Shopify's App Store is a major advantage, it's always worth understanding your options; our comparison of Magento vs Shopify breaks down the different approaches each platform takes.
Your Pre-Launch Checklist for a Flawless Opening
You’ve built a great-looking store, your products are uploaded, and you've tweaked all the settings in the back end. The finish line is so close you can taste it. But hold on, before you flip that "Open for Business" switch, let's run through one final checklist. This is the secret to a launch day that’s exciting, not stressful.
Think of this as the final dress rehearsal before the curtain goes up. You need to walk through your store, not as the owner who knows every quirk, but as your very first customer. That shift in perspective is everything; it’s how you’ll catch the little things that can make or break a first impression.
Polish Your Content and Policies
Every single word on your site reflects on your brand. A simple typo on a product page or a broken link in your navigation can instantly make a potential customer question your credibility. It’s time to go over your entire site with a fine-tooth comb.
Proofread Everything: Read every piece of text on your site. I'm talking product titles, descriptions, your 'About Us' story, and especially the nitty-gritty stuff like your return, shipping, and privacy policy pages.
Check Every Link: Click on every single link. Your main navigation, your footer, and any links you've embedded in blog posts or on pages. You're hunting for any dead ends or "404 Not Found" errors.
Test Your Contact Info: Make sure your contact page has the right email or phone number. If you have a contact form, send a test message to ensure it actually lands in your inbox.
Run a Real-World Test Order
If you only do one thing on this list, make it this one. Placing a test order is the only way to truly understand what your customers will experience, from adding an item to their cart all the way to seeing that "Thank You" screen.
Shopify has a handy tool called the Bogus Gateway that lets you simulate a purchase without charging a real credit card. Use it! Go through the entire flow: find a product, add it to the cart, fill out the shipping details, complete the checkout, and wait for the confirmation email to arrive. This simple test immediately flags any snags in your payment or shipping setup.
A seamless, error-free checkout isn't just a nice-to-have; it's essential. If a customer hits a wall trying to pay or never gets a confirmation email, they won't just leave their cart behind, they probably won't ever come back. This test is your best line of defence.
Final Technical Adjustments
Okay, your content is polished, and the checkout works perfectly. All that's left are a few final clicks to make your store official. These steps are simple, but they are the final, crucial pieces of your how to set up a Shopify store puzzle.
First up, connect your custom domain if you haven’t already. Switching from the default your-store.myshopify.com URL to your own branded domain (like yourstore.ca) is a huge step in looking like a legitimate, professional business.
And now, for the grand finale: remove the storefront password. This is literally the key that unlocks your front door for the world. Just head to Online Store > Preferences in your Shopify admin and uncheck the box for password protection. The moment you hit save, your site is live.
Congratulations, you’re officially open for business
Common Questions About Setting Up Shopify
Even with the clearest roadmap, you're bound to have questions when you're figuring out how to set up a Shopify store for the first time. It's totally normal. Most new store owners wonder about the same things: how long will this take, how much will it cost, and do I need to be a tech genius?
Let's get you some straight answers.
How Long Does it Really Take to Set Up?
Honestly, you could have a basic, working Shopify store up and running in a single weekend. That includes choosing a theme, getting your first few products loaded, and setting up your payments and shipping. It’s surprisingly fast to get to the point where you can actually take someone's money.
But there’s a big difference between "functional" and "finished." Getting your store fully polished and optimized is another story. Plan to spend a few more weeks tweaking the design, writing product descriptions that actually sell, and getting your marketing ducks in a row before you announce your grand opening to the world.
Do I Need to Be a Designer or a Developer?
Nope. Not at all. That’s the whole point of Shopify. It was built from the ground up for people who don't have a technical background. Between the drag-and-drop editor and the huge library of professional themes, you can build a great-looking store without ever touching a line of code.
And for anything more complex? The Shopify App Store is your secret weapon. It’s packed with plug-and-play apps for just about anything you can think of, from setting up a customer loyalty program to diving deep into your sales analytics.
The platform is built to be intuitive so you can focus on what you do best, your products and your customers, instead of getting bogged down in web development. If you ever do get stuck, help is out there, but the core system is designed for you to handle it yourself.
Can I Use My Own Domain Name?
Yes, and you absolutely should. Using a custom domain name (like yourbrand.ca instead of yourbrand.myshopify.com) is non-negotiable for building a credible brand that customers will trust.
You’ve got two main paths here:
Buy a new domain right through Shopify. This is the easiest option for a seamless setup.
Connect an existing domain you already own from a registrar like GoDaddy or Namecheap. Shopify gives you clear, step-by-step instructions to get it hooked up.
Nailing the technical details is key, and this is where dedicated ecommerce development expertise can ensure everything runs smoothly for a professional launch.
At Cleffex Digital Ltd, we specialize in turning your business vision into a high-performing online store. If you're ready to build a powerful ecommerce presence that drives growth, visit us at Cleffex.


